Perform Data Extraction
After you have performed an abstract review and full-text screening of a citation, the final stage is data extraction. You can create notes and assign them to relevant categories during the data extraction stage. You can add multiple notes for a single category. For more information about creating note categories, refer to the Add Note Categories page.
All the citations that are available for data extraction are displayed on the project dashboard page. To access the project dashboard, navigate to the project and ensure that you are on the Dashboard page. Scroll down to the Data Extraction section where it displays important numbers, such as citations that are pending, completed, or are in the review stage. For example, in the below image, there are 2 citations that are pending.
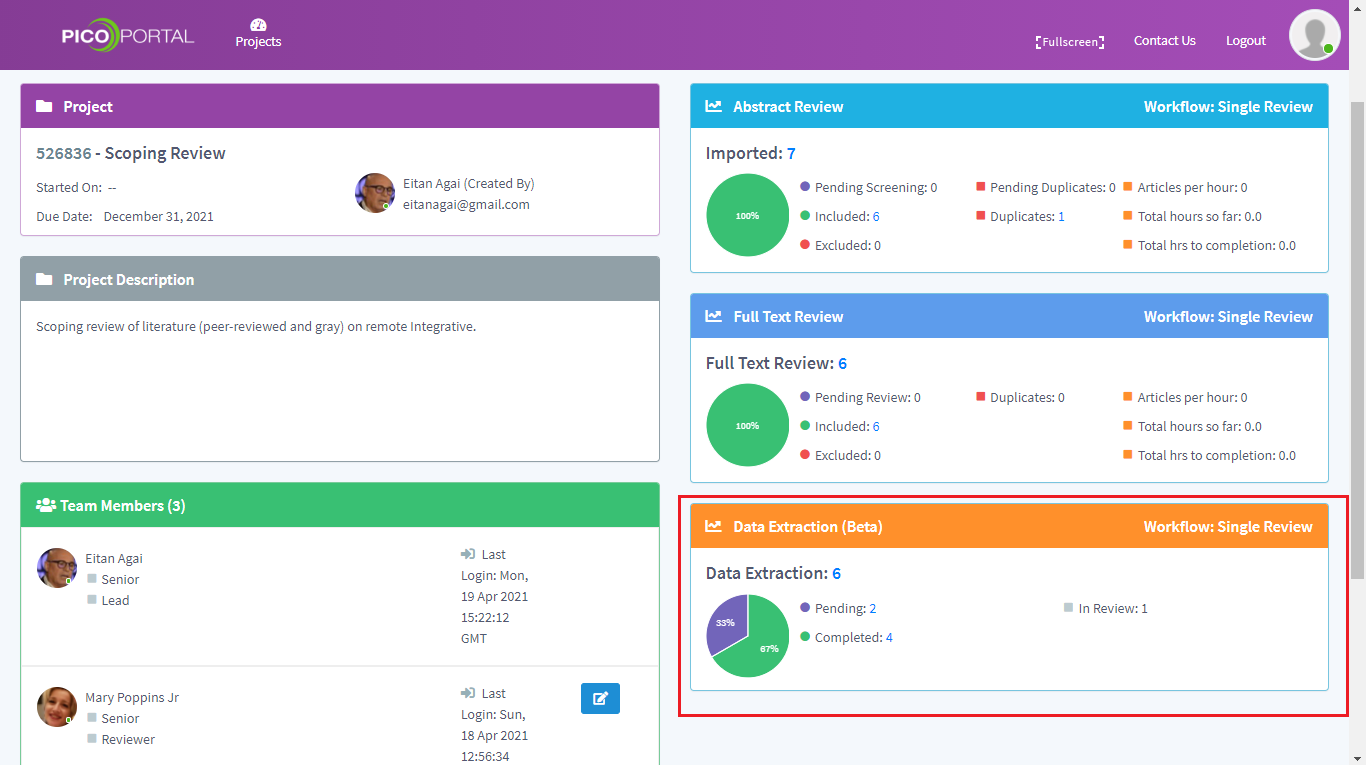
Click the number next to Pending to view the pending citations. The Data Extraction page appears.
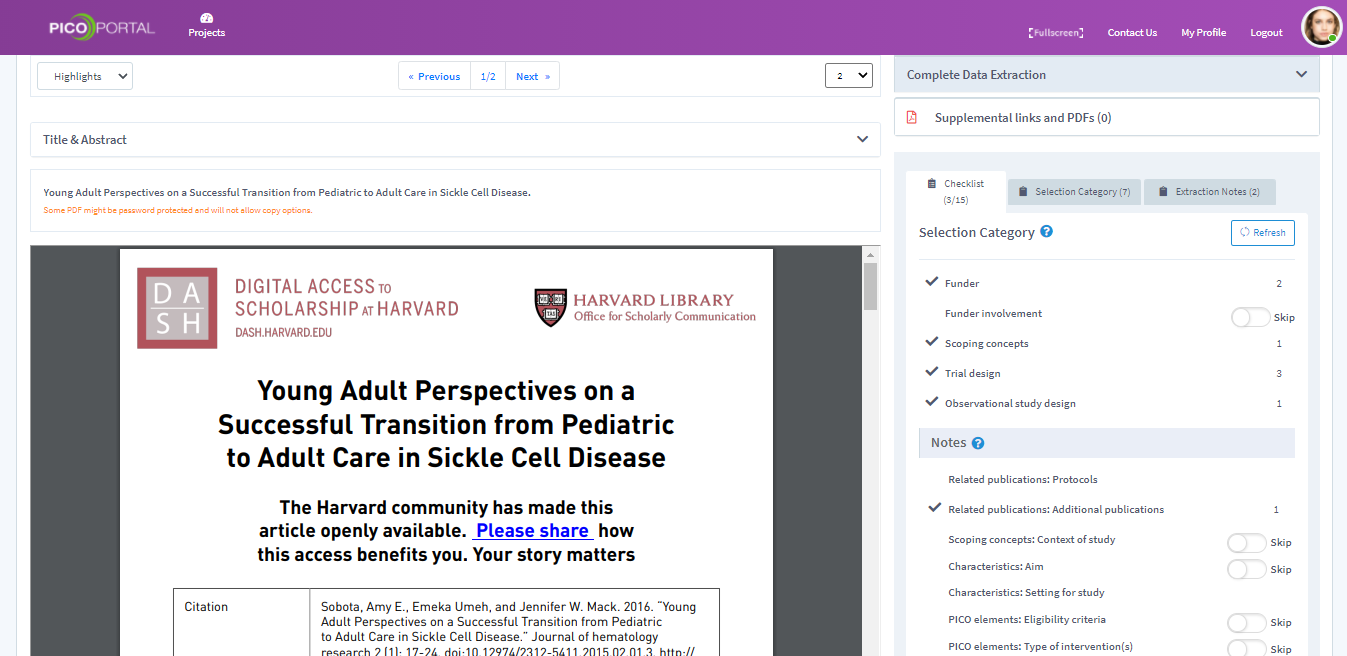
Checklist Tab
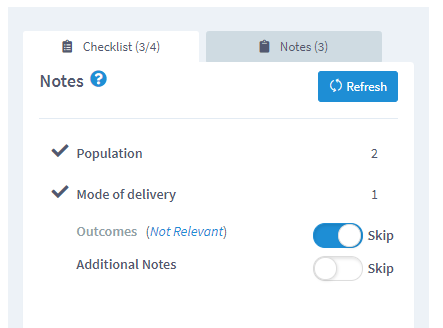
The Checklist tab provides a list of all the selection categories and notes.
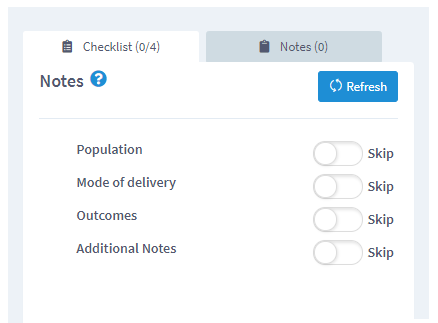
In the above example, there have not been any notes added for the category in the citation. As soon as you add a note, the count appears next to the category.
Ensure that you add notes for each category. If you do not add notes for a category, it will appear as blank in the exported sheet. However, if you toggle the Skip button, then it will appear as NR (Not Relevant) in the exported sheet. The NR text in the exported sheet helps you in differentiating between categories that are not added by the reviewer vs the categories marked as Not Relevant.
Adding Notes
The Notes tab allows you to populate the extracted data into multiple notes and assign the required categories. To add notes, click the Notes tab, and then select the category from the drop-down list. If you have skipped a category, it will not appear in the drop-down list. In this case, select Population as the category.
Add the extracted information in the text field and click the Save button to save the note as shown below.
When the note is successfully saved, it displays the name of the person adding the note, along with the date and time as shown below.
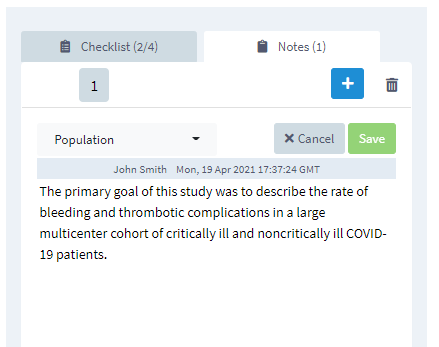
To add more notes, click the + icon and repeat the steps of adding notes. After you have added the notes, you can view the count in the Checklist tab.
Video Tutorial
Click here to view a video tutorial about performing data extraction.