Configure Data Extraction Settings
Before performing data extraction, you should set up categories for your notes. The notes added in these categories help you in analyzing the data after exporting it to a Microsoft Excel file. To create and manage these categories, navigate to the project and click Settings > Data Extraction. The Categories page appears.
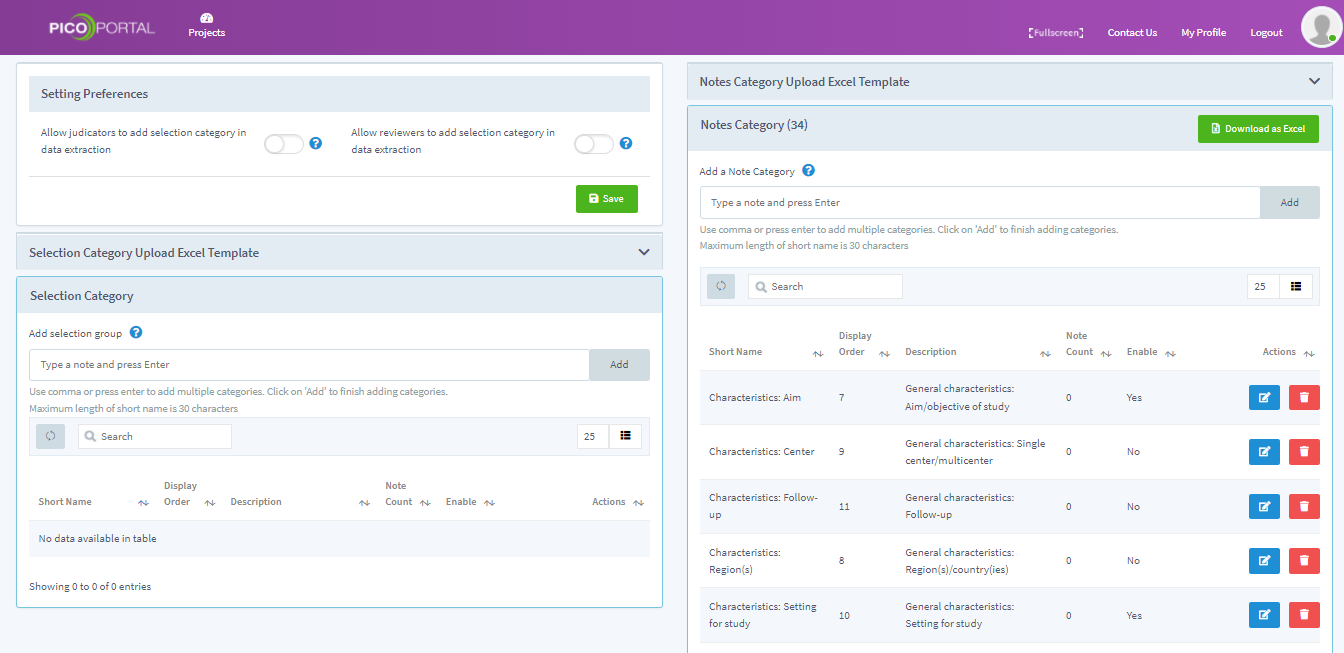
Configure Preferences
The Setting Preferences section allows you to handle the permissions for selection category. The section provides the following options:
- Allow judicators to add selection category in data extraction - Select this option if you want to allow the judicator to add new selection categories while performing data extraction.
- Allow reviewers to add selection category in data extraction - Select this option if you want to allow the reviewer to add new selection categories while performing data extraction.
Adding Notes Category
Navigate to the Notes Category section and add the required categories. For example, in the below screenshot, we are adding four notes categories to the project. These categories appear while you perform data extraction.
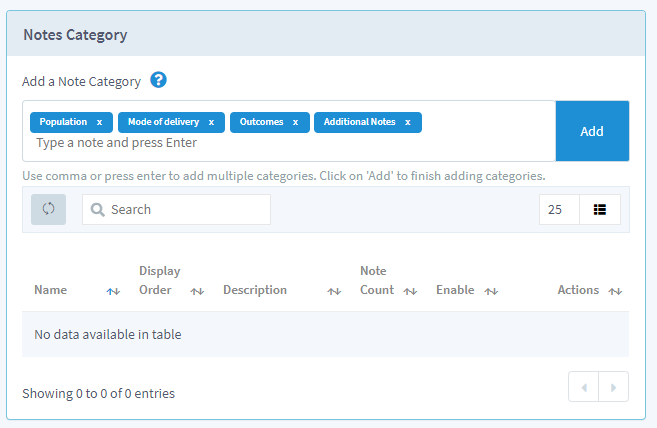
Click the Add button to save the new categories.
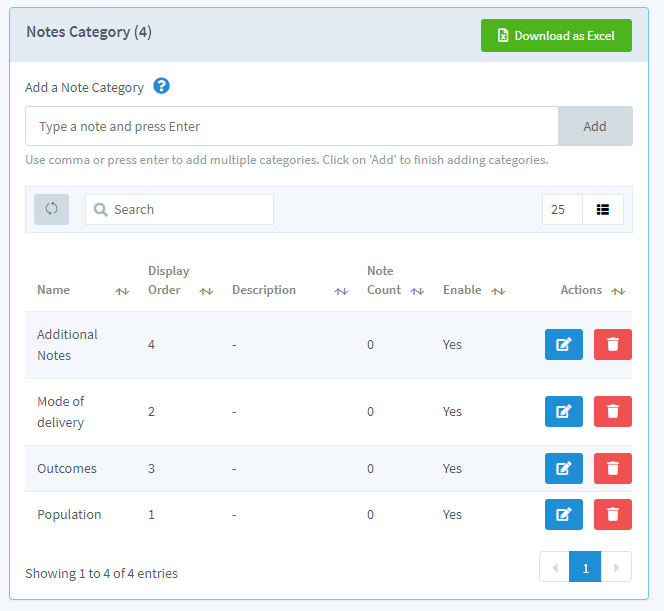
By default, PICO Portal will activate all the categories and assign a display order. Click the edit icon to change the display order or to add a description to the category.
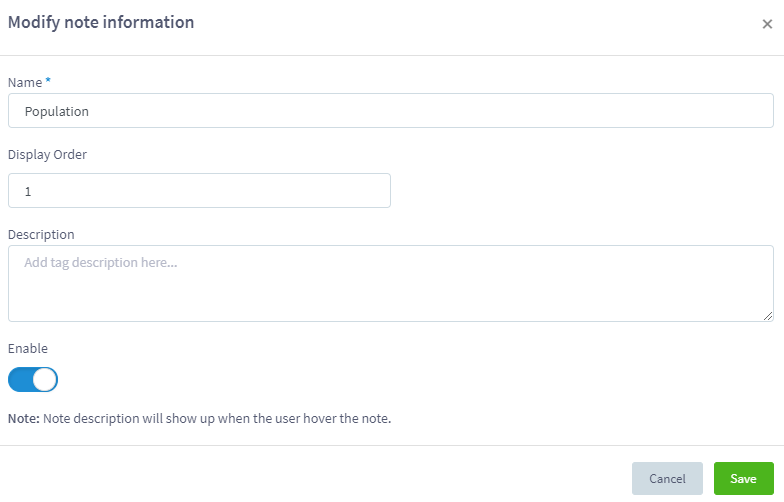
After you make the modifications, click the Save button to save your changes.
Adding Selection Category
Selection Category allows you categories your citations during the Data Extraction stage. You can create selection groups and add various selection criteria to the category group to categories your citations.
To add a new selection category group:
- In the Add Selection Group section, enter the name of the group that you want to add as shown below.
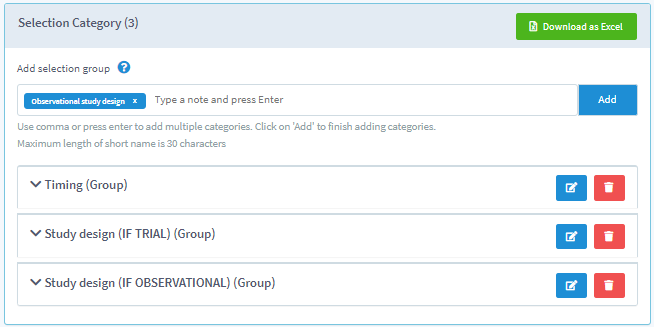
- Click the Add button to add the group. The new selection category is added.
- Expand the recently added selection category and add the criteria as shown below.
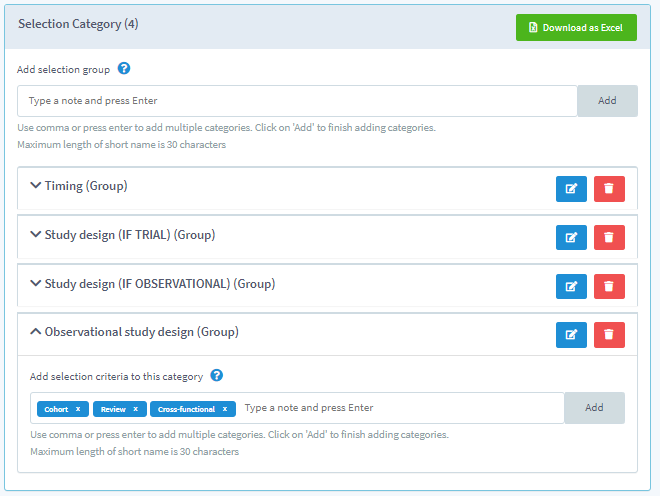
- Click Add. The selection criteria are added.